Mastering different tie knots to match collar styles and various occasions can enhance your look and leave a lasting impression. Here, we introduce four essential tie knots commonly used for business, weddings, and parties.
Before You Tie: Know Your Necktie Parts
Before we dive into the knots, let's go over a few basic terms:

1. KNOT
A ""knot"" refers to the central joint in a tie where it is fastened. Each tie knot is named with ""~knot"" and is essential to achieving the perfect look.

2. DIMPLE
A ‘Dimple’ is an indentation that shows under the knot. The dimple gives depth and a stylish impression to the necktie. Without a dimple, the tie might look flat. It is recommended to create a dimple for business occasions or weddings where you want to look stylish. However, a dimple is not recommended for somber evens such as funerals or occasions of mourning.

3. BLADE
The wider end of a necktie. The term ‘necktie width’ refers to the width of this blade.
4. TAIL
The narrow end of a necktie. Some ties have different patterns for the large and small blades.
Simple knot', the easiest and the most versatile

The simple knot forms a tight, small knot, making it ideal for regular-collared shirts. This knot is perfect for business, interviews, formal occasions, and ceremonies. It’s a great knot for beginners to master first!

1. Leave the blade longer and place it on top of the tail.
2. Wrap the blade around the tail about one and a half times and bring it to the back side of the tail.
3. Thread the blade through the loop at the neck from the bottom to the top.
4. Put the blade through the loop frontside from the top to the bottom.
5. Pull the tail downwards to tighten the loop around the neck and adjust the height of the knot.
The "Semi-Windsor Knot" is exquisitely balanced and gives a smart impression.

The knot is close to an equilateral triangle. The shape is well-balanced so its an all-around practical knot. It goes well with most shirt collars and it matches well with wide collar and thick neckties. The tie gives a sense of presence so it is best used in situations where you want to make a strong impression.

1. Grab the tail and go around the blade in front
2. Take the blade and bring it from the front to the back and pass it between
3. Place the blade on top of the tail and pass it around the neck
4. Bring the blade from the front and pass it toward the neck
5. Pass the blade through the loop from the top
* It is easy to tie a knot if you hold down the tail
6. Finish it by adjusting the length and tightness of the knot
Windsor Knot', a large knot that has a presence

This knot is known for its full, voluminous triangle. Among traditional knots, it’s the largest and creates a nearly equilateral triangle, making it a great choice for interviews or important meetings. The Windsor Knot is best suited to wide-collared shirts, such as those with a wide spread or cutaway collar.

1. Hold the tail short, cross the blade over the tail and bring it out behind. Maybe hold instead of grab.
2. Thread the blade through the loop at the top of the neck.
3. Turn the blade outward from the opposite side of the loop and bring it from the inside to the outside.
4. Thread the large sword through the loop at the top of the loop.
5. Adjust the shape of the knot, and complete by adjusting the length and tightness of the knot.
‘Double Knot’, more formal and elaborate

‘Long vertical knots’, it is one size larger than a plain knot and thicker when viewed from the side.
This knot is especially suited for business and formal occasions, and is also suitable for formal wear. It is helpful to remember to use the 'double knot' instead of 'plain knot' when the knot is too small.

1. Take the tail short (close to the end of tail), and cross it to bring the blade front
2. Turn the blade side stacked on top around twice from the back
3. Thread (pass through) the blade through the front side of the loop from the top
4. Shape the knot to make it stiff and it’s done
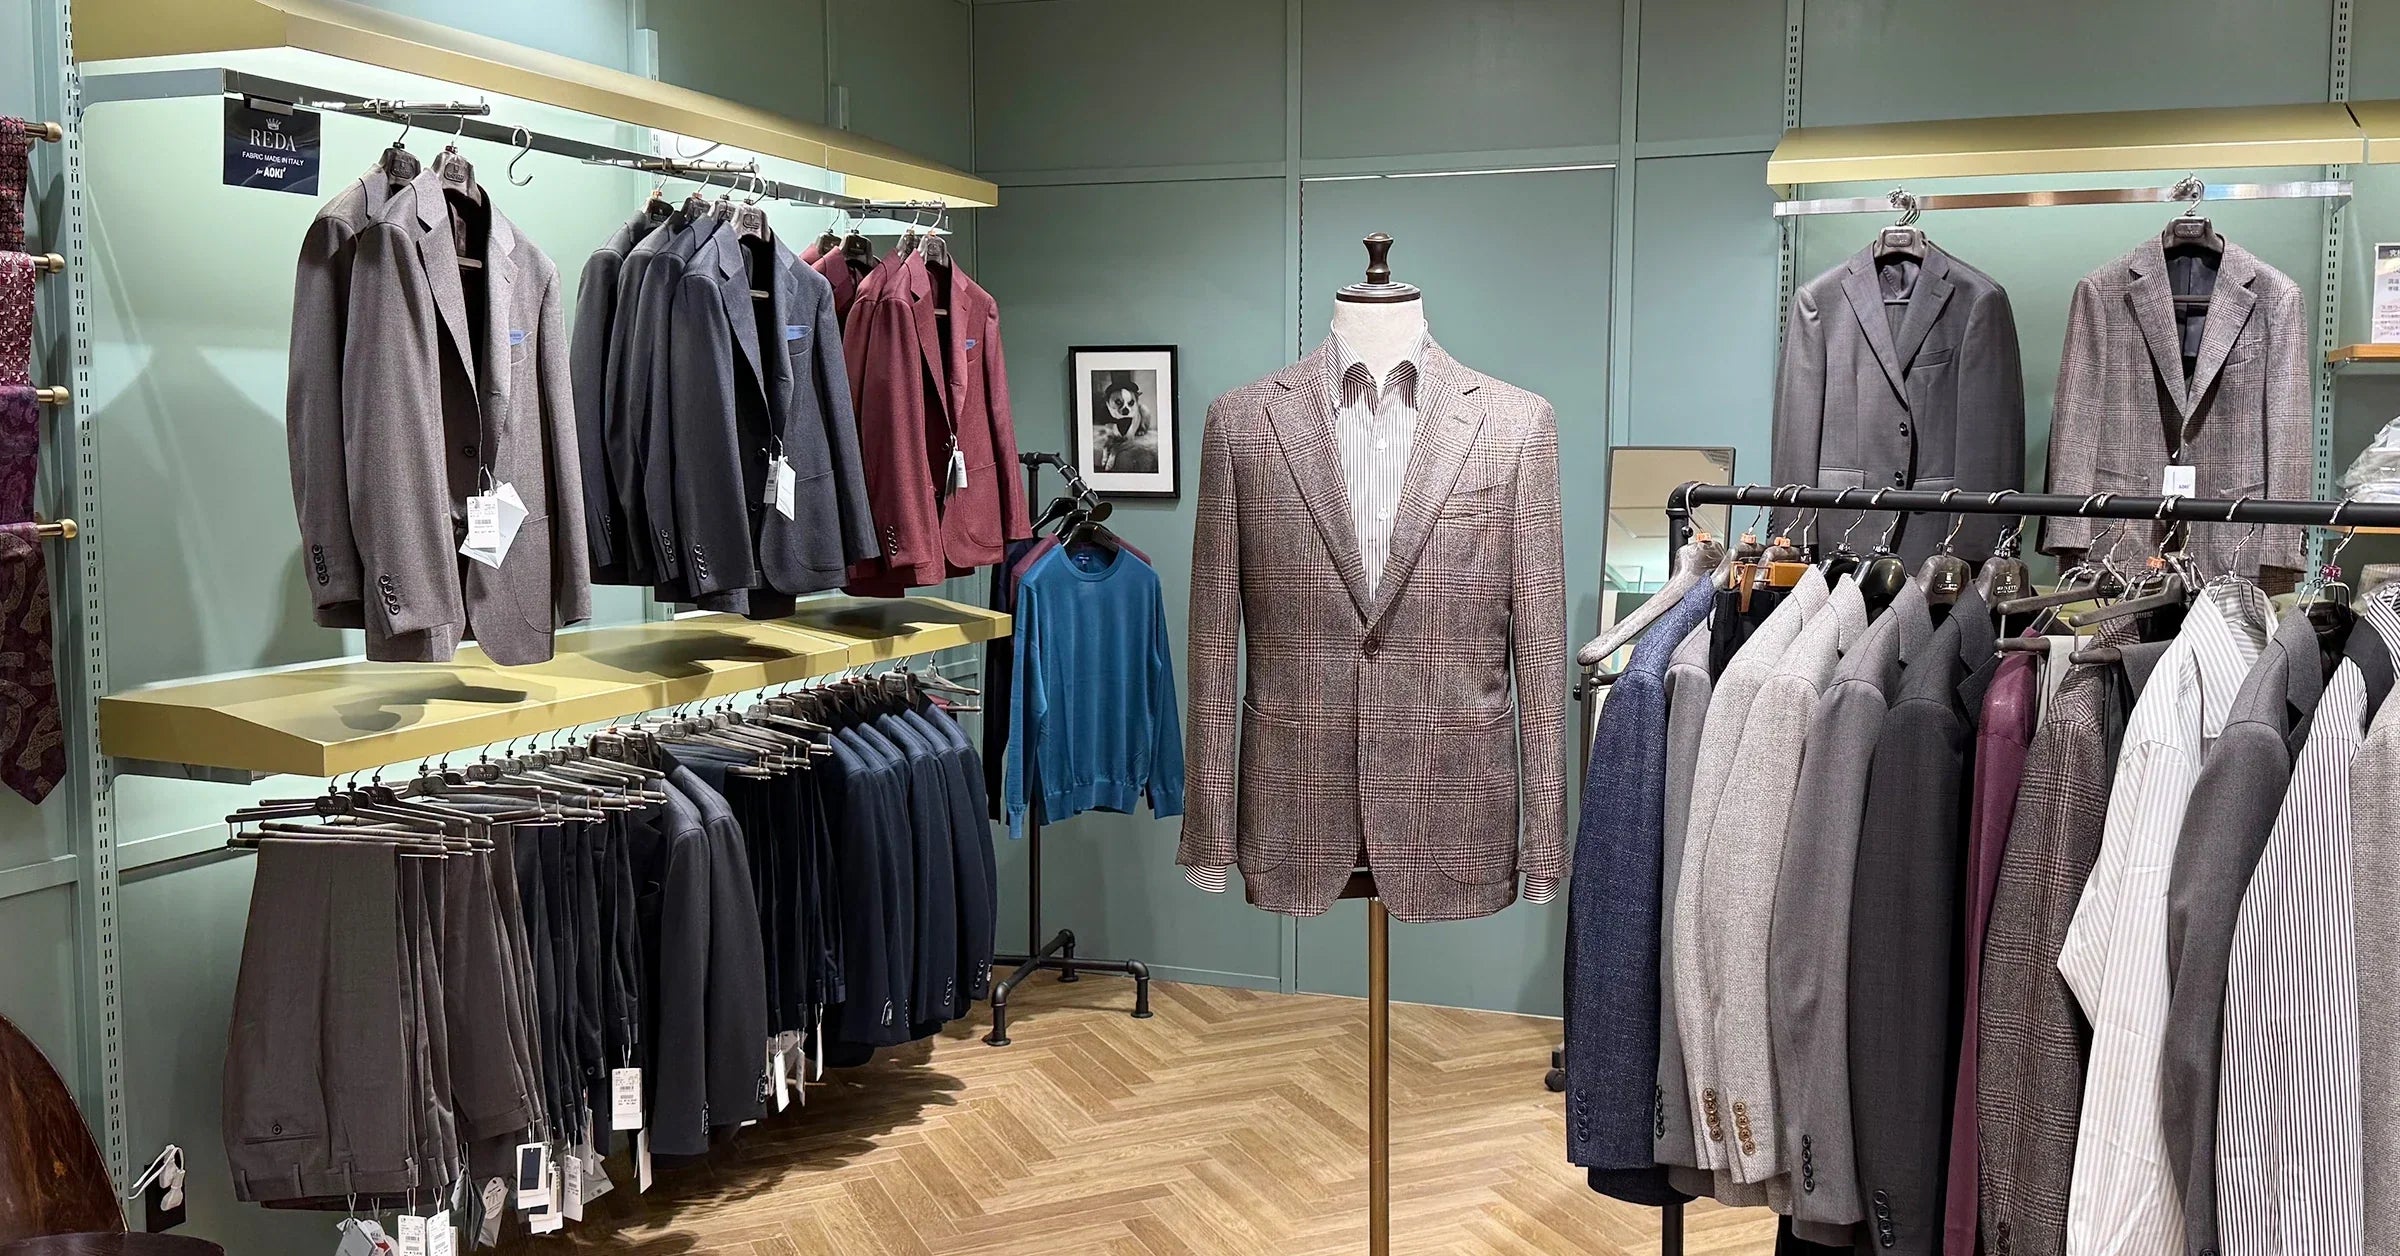
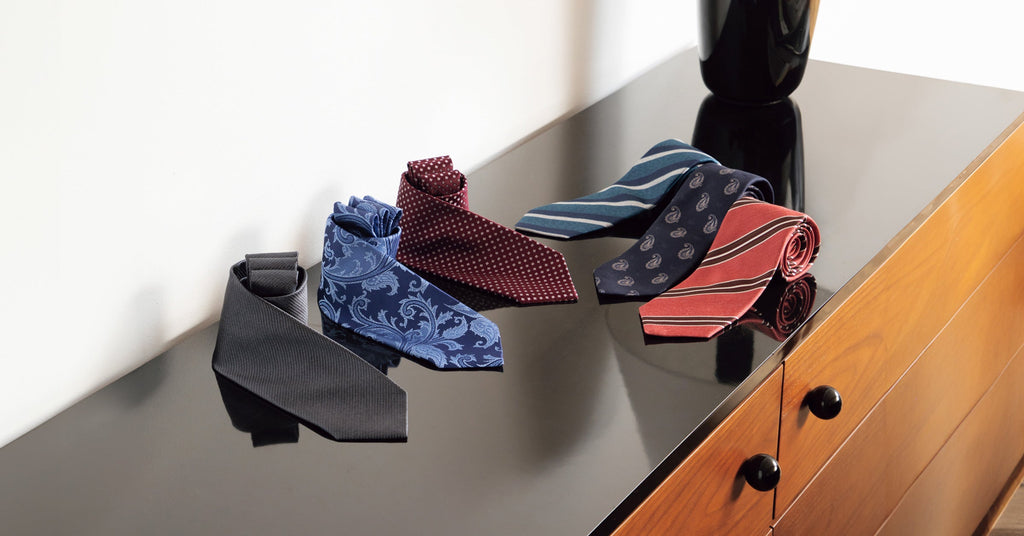
Our Long-Awaited Neckties Are Now Available!
We are excited to introduce our new collection of neckties. These ties aren’t just for formal suits—they’re also a perfect match for AOKI's popular pajama suits!
For those looking to elevate their style, be sure to shop our neckties here.
If you’d like to learn more about selecting the right shirt to pair with your necktie, click here for details.